Showing posts with label diy. Show all posts

Monday, October 1

Felt Board Fun: Colorful Ice Cream Board!

Anyone else remember the days of felt boards in Sunday School or at preschool? Little shapes, people, animals, buildings, ANYTHING cut out of felt, that the teacher moved around the board (usually a big piece of cardboard covered in heavier felt) to "act out" the story being told, or help with counting, colors, alphabet... The possibilities were endless.
Felt boards are fun and definitely bring feelings of nostalgia, but I thought they were becoming a forgotten thing. Well, it turns out that felt boards are alive and well - in preschools still, according to my mom (preschool teacher extraordinaire) and also according to the mass of "DIY felt board" Pinterest search results I got when I did a search. I love it!

Why are you talking about felt, you ask? Well last weekend, our favorite two year old had her birthday party. Hubs and I have been on a serious budget the past few months (is spending practically NOTHING even called a budget?), but I didn't want that to keep us from bringing a gift with meaning and thought put into it. I decided I wanted to make something, because it would not only save money but allow more creativity and fun than purchasing a gift.
Then an instance of perfect timing - serendipity, even, - took place. Lindsay over at The Little Red Horse posted about an ice cream-color matching felt board that she made. She had been inspired by an original ice cream-color matching felt game over at Mama Papa Bubba.

I took one look at these adorable games and said, "I can do that, and it will be a perfect gift!" So off to JoAnn Fabric I went.

  • I picked out a bunch of the basic 34 cent felt rectangles in varying bright colors and a tan that looked like the color of ice cream cones, and used the "Coupon Commotion" ad to get 50% off almost every piece of felt.
  • Then I went over to the bulk fabric and picked out the bolt of cream-colored 72" felt for the board part. I cut a piece to fit a 16" by 24" poster frame.
  • I also had to buy a new bottle of Tacky Glue. Another 50% off coupon there ;)
  • I used a coupon at Michael's craft store to get a 16" x 24" poster frame, with acrylic instead of glass (kid safe!), and an elegant brushed nickel colored frame edge.
  • I traced the shapes (ice cream, cones, and dots) according to the template over at Early Learning Activities, with a fine tip Sharpie black pen. Then cut them out with basic scissors - didn't want to risk dulling my sewing scissors with felt.
  • I glued the dots onto the cones with Tacky Glue, and let them dry for over 24 hours.
  • I used pre-made/pre-cut pink felt letters with sticky backs to spell her name. I found the felt stickers on clearance at Michael's. I stuck them to little squares cut out of the ice cream cone-colored felt.
  • I took the acrylic window piece out of the frame, wrapped the (already cut) cream-colored felt piece around it, and taped in the back with clear packing tape. It fit so nicely back into the frame, and was smooth on the front because the bolt felt did not have fold lines (bonus!).
  • It cost less than $20 for everything, and about three hours time investment, including shopping and "work." It wasn't work though, it was so much fun to be making something and being crafty again! I've missed that.


Here it is!
(Terrible photo quality, I know)

It was 2 in the morning, so I wasn't so concerned with good lighting ;)

With this, Miss Phillipa can learn not just colors, but also the letters in her name...


Making and giving this gift was so much fun. It was a hit with the birthday girl, her parents, and the other guests at the party. It feels great to make something that will be used and loved, and at the same time inspires other people to be creative and crafty, and learn with their children.

I can't wait to make some more cute felt creations to go along with Victory's favorite books - The Very Hungry Caterpillar and Ten Little Ladybugs have great felt-board potential :)

Tuesday, August 21

Summer Update

So, I've been neglecting the blog lately, because summer in the Pacific Northwest is the most glorious time and place on earth! We have been extra blessed this summer to have sunny weather and temperatures in the 80's more days now than I can count. We had a real heat wave last week and it nearly hit 100! Can I just say, God bless the brilliant individual that invented Air Conditioning? ;)

This will be an update brought to you by a bunch of photos; a little sneak peek into some of our summer activities and accomplishments.

1) To start off, I don't have a photo for this, but by far the biggest accomplishment around our home is that we now have a TODDLER! And she is just eight days away from turning one years old! Time flies far too fast as a mom, but how incredibly wonderful the time has been! :)

2) Bargain treasure hunting...

I have totally scored this summer when it comes to secondhand and clearance rack bargains! I've been frequenting the thrift stores when us gals need to get out of the house for a bit, and we've found some great things. A few of them that I can remember right now:

  • A huge bag of Mega Bloks for a buck - I soaked them in warm water and bleach in the sink, ran them through the dishwasher, and they are good as new!
  • A bunch of items - some thrifted, some clearance at JoAnn Fabrics and Michael's stores - for Victory's garden birthday party. I am SO excited to decorate with all the goodies I've been stashing away. More photos of those to come, after the party.
  • My best find, I think, was a "garden arch" - really a simple arbor - which is something I've been wanting all summer. I found one in a box on the bottom shelf at Goodwill over the weekend - for eight bucks!!! Hubs and I put it together and it is in our yard awaiting the party. I am always reminded of how God cares even for our little wish lists, because it's so evident when I find treasures like that!
  • Perhaps my most unique find was this totally awesome retro clock. It was 3.99, and I had a $3 off $10 purchase coupon for making a donation to the store, so since I spent $10 on more "necessary" items, I consider this a freebie! ;)


Another great score was ten organic herb plants from Home Depot, on clearance for 75 cents a pot! One of the lavender plants fit perfectly into this hand painted clay pot - also from the thrift store, for $1!
(From the way I describe it, you'd think I go shopping every day. Actually, I've only been to the store about ten times this whole summer!)

3) Gardening

It is official. I have caught the gardening bug!


Hubs and I have said for four years that we wanted to garden, but we were always so busy throughout the past four years in our home remodeling moldy walls and fixing rotten floors... well this year we finally followed through! Hubs was given free wood at work, as well as our neighbor gave us a bunch of wood. My amazing handy man built six raised beds for me, and I went to town! (I have definitely caught the 'gardening bug!')

This is my cart after discovering the clearance and end-of-season mark down racks at Home Depot...

Some early goodies from my winter squash vines, and a zucchini we let go too long!

We are growing many different things. Lettuce - red leaf and butter; Brussels sprouts; broccoli; zucchini; tomatoes (three types - Roma, Early Girl and Big Beef); three types of peppers - Jalapeno, Green bell, and orange bell... oh I can't even remember everything. All that matters is that everything is thriving and we have or are going to have tons of produce to enjoy and give away!


I found some great pots on clearance at Rite Aid last month, and filled them with flowers. This is my hardy Gerbera daisy from last spring - remember when I bought it? I never covered it with mulch for the winter, and I thought the late ice storm we had surely killed it. But it returned!

Tip from a Home Depot nursery employee: plant marigolds in the corners of your raised beds, and the slugs will go munch on those and leave your veggies alone.

Here is our first red tomato - a "big beef ." And there are about thirty green ones, plus all the tomatoes on the Roma and Early Girl plants. Yikes, I wish I could have nightshades! Fresh salsa from your own tomatoes must taste amazing!
Our neighbors will be benefiting from our surplus :)

Can you see the teeny tiny sprouts in the base of each leaf? The cabbage moths have been loving the leaves but I'm hoping we still get a good crop in the fall. We LOVE our Brussels sprouts around here!

I just love this plant, called "Mossflower." I don't know of any other flower plants that have multiple colored blooms on the same plant! It's amazing! I bought four or five of them, because they were so pretty and I could tell they had potential. Well they did, they have grown twice their size in just a few weeks, and hang over their baskets beautifully!

Pink and green zinnias, cream colored Marigolds...

More Zinnias and Marigolds 
Butter lettuce! We've been snipping off leaves for two months to eat, and it just keeps coming back. Awesome!

I couldn't resist this Dahlia plant when it was on sale for $5 - and now it is HUGE!  Dahlia  flowers are just beautiful

4) Crafty stuff!
I made this for the Fourth of July. It was fun, I sat down with fabric scissors, three quilting fat quarters (red, white, and blue patterns) and a wicker wreath from the dollar store. One movie later, I had a wreath. It felt a bit sparse to me, and I had a lot of leftover fabric strips, so I got another, smaller wreath and tied fabric to that one and connected the two wreaths together with twine. Super easy and cheap to make, and you can do these in any color for any occasion!
Original inspiration from Woman's Day magazine

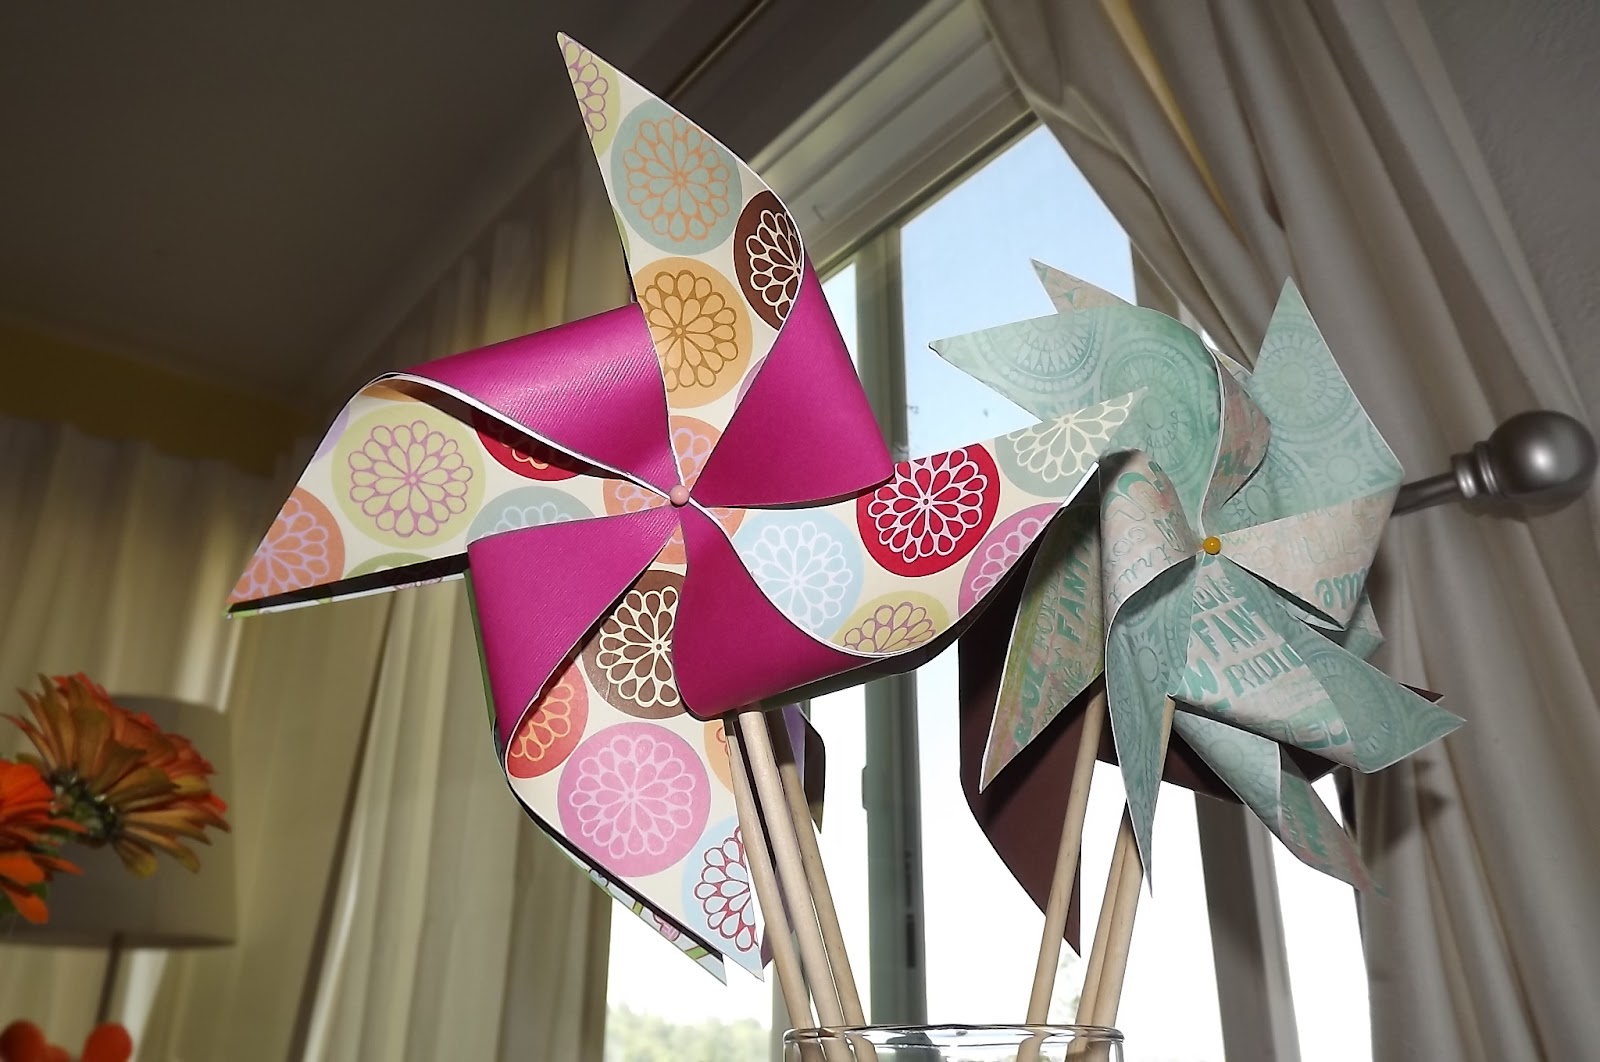
I've also been using my crafty skills to do a lot of things for Victory's upcoming birthday party...


 6) Birthday party planning!

Hubs and I talked for a few months about our sweet girl's first birthday party. We finally decided on having it at home and making it a "garden party," because this has been our year to finally start investing time and resources into our yard. So why not host a celebration there and really enjoy it! I also like that the money we've spent on potted plants, flowers and garden beds and windchimes and more, is not 'birthday themed,' but they will be party decorations and then just staples in our yard each summer. Double purpose but only a one-time purchase - it's a win-win!

This is a bean bag toss target that a friend and I painted. It is two pieces of foam core board from the dollar store, staple-gun stapled to a wooden frame that used to be part of a shelf in our bathroom.
At the bottom of the photo are bean bags I sewed from leftover nursery fabric. Easy tutorial found here

Pinwheels! I was inspired earlier this summer by a Martha Stewart craft tutorial, and then this garden party blog post, so I have been making them in my free evening time. I've got some little ones, and some huge ones!

8) Home improvements, in particular:

Finishing the bathroom remodel we started in May 2011!

Just a snapshot of the prettiest part of our new bathroom - mosiac glass tile. It cost just $14 total!
Right under that is a wall-mount sink from IKEA. Cost? Just 30 bucks!
Hubs has done an amazing job. It has taken much longer than we'd have liked, but we are so close to being done (just cosmetic stuff left - drywall sanding, painting, staining trim). Can I just say, my husband is amazing! He is working so hard and has so much on his plate, and never complains! Thank you for your great attitude and leadership, Babe!

Hubs has also been very busy building a deck around our house, so our little champ can play outside even when the lawn is sopping wet this winter! It is taking shape and I am so excited to get out there and start decorating it with thrifted, made-over outdoor furniture and accessories!


...Well, that's a little bit of what we've been up to. The highlights! What special things have you done this summer??

Wednesday, January 25

Family Values

I wanted to share something I made last week. First, the back story: We got this big frame (approximately 24x36) from our neighbor. It is missing the glass, but it has this great matting. I was going through photos trying to narrow my stack down to just fifteen, when I realized I could use the frame to make something I've had on my craft to-do list. I've seen this idea around the blog scene lately: a compilation of core family values put to word art. They are usually stenciled with paint onto a hanging board or sometimes painted right onto the drywall in a home. With this big frame, I made my own version. It took about three hours to cut the 4x4 and 4x6 cardstock pieces and use my CriCut to make the words and glue them.

Voila! It feels great to accomplish a project, doesn't it?

For those who haven't seen those other art pieces, it reads like this:
In this home, we do LOVE
In this home, we do COMMITMENT
In this home, we do GRACE
In this home, we do SECOND CHANCES
In this home, we do GRATITUDE
In this home, we do REAL
In this home, we do HONOR
In this home, we do I'M SORRY
In this home, we do TEAMWORK
In this home, we do BIG DREAMS
In this home, we do FUN
In this home, we do BOLD PRAYERS
In this home, we do JESUS
In this home, we do HUGS

I challenge you to consider what values you want to uphold and teach in your home, and once you decide, go ahead and display them. As with any big goal, keeping the vision in mind every day determines your success!

Wednesday, July 6

Freedom of Cloth Blog Carnival

Just a quick post tonight to share something I found today. Over at Natural Parents Network they are hosting a "Freedom of Cloth Diaper Blog Carnival" for seven days, and featuring many articles regarding a specific cloth diapering topic each day this week. Yesterday, for example, was "Cloth Diapering Must Haves" and a bunch of blogging mamas gave their input on any and every accessory you might need for cloth diapering. Monday was all about recipes related to cloth diapering - homemade laundry detergent, baby wipe solution, etc. If you are interested in cloth diapering at all, you should join me in checking out the "carnival" this week. So much great information, and you can never know too much about something like cloth diapering :)

Monday, June 13

Completed Sewing Project - Baby Leg Warmers!

I did it! I made baby leg warmers! These are SO fast to make, I can't get over it. I had a few issues with the cuff on two of them; it came out somewhat crooked. But hopefully they'll be so cute on our little girly's legs that no one will even notice :)


Saturday, June 4

Sneak Peek of Baby's Room...

We are having the most gorgeous day of the year. I got the window and door trim and chair rail painted for BG's room. Hubs is going to install them later. We must be on the homestretch; finishing touches are going in!

Here is a little sneak peek of the vision for Baby's room, coming together - paint colors done, painted chair rail in it's spot, floral fabrics for her bedding draped over the Jenny Lind crib... I love it and can't wait til it's ready for Baby!!! :)


And just for the record, all the time we spent choosing JUST the right shade of blue/green for the walls, so it would draw out the color in the fabric - it was worth it. Check out this perfect match:

Thursday, June 2

Glider Rocker for Baby's Room

This is a little project that has turned out even easier than I thought it would. I bought this glider rocker at a thrift store for $17 back in March or April:


I was planning to re-cover the inner foam cushions with a home decor fabric that goes with the color scheme in Baby's room.
As my due date approaches little by little, and my sewing table isn't really usable while we remodel, I've been wondering what I'll do for cushions. I read something the other day about using the outdoor chair cushions that Peri 1 and World Market sell. I thought this sounded like a great plan, but these cushions run about $40 each, or more.
Well, Hubs and I were at IKEA over the weekend and I passed these cushions in their summer outdoor area, and they were on close out for $12.99 each!


They had less than ten left, all in the yellow and pink plaid, so I bought two just in case they would work. Took them home, put them on the glider rocker, and they fit perfectly! So there's one less project to take on in case Baby arrives earlier than expected, or I get hung up on another project for her room. I love finding great deals :)

Monday, May 30

Sew Some Baby Leg Warmers!

Have you ever heard of BabyLegs? They are new to me. But after seeing a post about them on Life's Little Embellishments, I got inspired and excited about them. They are little leg warmers for babies! Better than baby tights, because they don't have a top section to pull down for every diaper change or when potty training, and they protect little knees when crawling - great idea. They even have a few styles for little boys. But they are a little spendy.
But thankfully, Rachel at Life's Little Embellishments found a tutorial to make your own baby leg warmers at the Wulfekuhle journey. It is a really simple and VERY affordable way to build up a supply of your own. All you need is a sewing machine, thread, and a pair of girls' or ladies' knee high socks. Check out some of these handmade creations... while I go out and shop for socks to make some for Baby V!

From the Wulfekuhle journey:


From Life's Little Embellishments:

The striped pair at the bottom are a pair of "real" BabyLegs and the rest are her own cute handmade leg warmers!

Friday, April 15

I Sewed Something!!

I have always wanted to sew, and sew well enough to make all sorts of fun creations that rival anything you can buy at a little boutique. Since being pregnant I've been inspired anew, and I am determined to become a good seamstress. Well. Last week I cut two receiving blankets and other flannel remnants into squares in preparation to hem them and start our cloth wipe stash. At a friend's suggestion, I doubled each flannel square to make it thicker and more durable, and used a zig-zag stitch on the highest width on my machine. It took me three days to finish hemming because of this cold I'm working through, but I kept working and just finished! I now have over forty homemade flannel wipes to wash and put away for Baby Girl. A great start!


I got the most experience I've ever had with my sewing machine this week. I had to wind the bobbin at least twice, rethread the needle MANY times, and I had several thread jams to fix. I'm still figuring out some of the machine's quirks and my own user errors. But I'm excited to keep sewing and start a new project. I found this free pattern at Wink Designs for baby skirts made of fat quarters, and I think this would be a good "intermediate" level project for me.

Tuesday, April 5

Cloth Diapering Pt. IV - All-Natural Baby Wipes

While I'm still undecided on what fabric to use for my homemade baby wipes, Hubs and I are both set on using cloth wipes as well as cloth diapering. We're both feeling great about the fact that we'll know exactly what is going to be next to Baby's skin, instead of being at the mercy of giant American companies that use all kinds of unpronounceable chemicals in their products (many of which aren't allowed even for adult products in Europe! ick!).

I think I've decided on the solution we'll use for our baby wipes. Here is the recipe:

1 cup water
1 tbsp. Baby Dr. Bronner's liquid castile
1 tbsp. apricot oil or almond oil
2 drops tea tree essential oil
5 drops lavender essential oil

I got the recipe from this great little article at Natural Family Online. I really enjoyed the article. It lists a very basic to do/must have list for new parents. It's like they read my mind and then wrote the article!
Hubs and I have been trying our hardest to stay away from all the little doo-dads and fancy accessories that the baby industry tries to get you to think you need when you're shopping for your first baby. I've been to enough baby showers and hung around enough experienced moms to know that much of that stuff is just not needed. My goal is to stick with what is simple, healthy, and necessary for my baby. The most important thing she needs, after all, is love and good care. Those things do not cost any money and make the most difference in a baby's life :)