Showing posts with label sewing. Show all posts

Tuesday, August 21

Summer Update

So, I've been neglecting the blog lately, because summer in the Pacific Northwest is the most glorious time and place on earth! We have been extra blessed this summer to have sunny weather and temperatures in the 80's more days now than I can count. We had a real heat wave last week and it nearly hit 100! Can I just say, God bless the brilliant individual that invented Air Conditioning? ;)

This will be an update brought to you by a bunch of photos; a little sneak peek into some of our summer activities and accomplishments.

1) To start off, I don't have a photo for this, but by far the biggest accomplishment around our home is that we now have a TODDLER! And she is just eight days away from turning one years old! Time flies far too fast as a mom, but how incredibly wonderful the time has been! :)

2) Bargain treasure hunting...

I have totally scored this summer when it comes to secondhand and clearance rack bargains! I've been frequenting the thrift stores when us gals need to get out of the house for a bit, and we've found some great things. A few of them that I can remember right now:

  • A huge bag of Mega Bloks for a buck - I soaked them in warm water and bleach in the sink, ran them through the dishwasher, and they are good as new!
  • A bunch of items - some thrifted, some clearance at JoAnn Fabrics and Michael's stores - for Victory's garden birthday party. I am SO excited to decorate with all the goodies I've been stashing away. More photos of those to come, after the party.
  • My best find, I think, was a "garden arch" - really a simple arbor - which is something I've been wanting all summer. I found one in a box on the bottom shelf at Goodwill over the weekend - for eight bucks!!! Hubs and I put it together and it is in our yard awaiting the party. I am always reminded of how God cares even for our little wish lists, because it's so evident when I find treasures like that!
  • Perhaps my most unique find was this totally awesome retro clock. It was 3.99, and I had a $3 off $10 purchase coupon for making a donation to the store, so since I spent $10 on more "necessary" items, I consider this a freebie! ;)


Another great score was ten organic herb plants from Home Depot, on clearance for 75 cents a pot! One of the lavender plants fit perfectly into this hand painted clay pot - also from the thrift store, for $1!
(From the way I describe it, you'd think I go shopping every day. Actually, I've only been to the store about ten times this whole summer!)

3) Gardening

It is official. I have caught the gardening bug!


Hubs and I have said for four years that we wanted to garden, but we were always so busy throughout the past four years in our home remodeling moldy walls and fixing rotten floors... well this year we finally followed through! Hubs was given free wood at work, as well as our neighbor gave us a bunch of wood. My amazing handy man built six raised beds for me, and I went to town! (I have definitely caught the 'gardening bug!')

This is my cart after discovering the clearance and end-of-season mark down racks at Home Depot...

Some early goodies from my winter squash vines, and a zucchini we let go too long!

We are growing many different things. Lettuce - red leaf and butter; Brussels sprouts; broccoli; zucchini; tomatoes (three types - Roma, Early Girl and Big Beef); three types of peppers - Jalapeno, Green bell, and orange bell... oh I can't even remember everything. All that matters is that everything is thriving and we have or are going to have tons of produce to enjoy and give away!


I found some great pots on clearance at Rite Aid last month, and filled them with flowers. This is my hardy Gerbera daisy from last spring - remember when I bought it? I never covered it with mulch for the winter, and I thought the late ice storm we had surely killed it. But it returned!

Tip from a Home Depot nursery employee: plant marigolds in the corners of your raised beds, and the slugs will go munch on those and leave your veggies alone.

Here is our first red tomato - a "big beef ." And there are about thirty green ones, plus all the tomatoes on the Roma and Early Girl plants. Yikes, I wish I could have nightshades! Fresh salsa from your own tomatoes must taste amazing!
Our neighbors will be benefiting from our surplus :)

Can you see the teeny tiny sprouts in the base of each leaf? The cabbage moths have been loving the leaves but I'm hoping we still get a good crop in the fall. We LOVE our Brussels sprouts around here!

I just love this plant, called "Mossflower." I don't know of any other flower plants that have multiple colored blooms on the same plant! It's amazing! I bought four or five of them, because they were so pretty and I could tell they had potential. Well they did, they have grown twice their size in just a few weeks, and hang over their baskets beautifully!

Pink and green zinnias, cream colored Marigolds...

More Zinnias and Marigolds 
Butter lettuce! We've been snipping off leaves for two months to eat, and it just keeps coming back. Awesome!

I couldn't resist this Dahlia plant when it was on sale for $5 - and now it is HUGE!  Dahlia  flowers are just beautiful

4) Crafty stuff!
I made this for the Fourth of July. It was fun, I sat down with fabric scissors, three quilting fat quarters (red, white, and blue patterns) and a wicker wreath from the dollar store. One movie later, I had a wreath. It felt a bit sparse to me, and I had a lot of leftover fabric strips, so I got another, smaller wreath and tied fabric to that one and connected the two wreaths together with twine. Super easy and cheap to make, and you can do these in any color for any occasion!
Original inspiration from Woman's Day magazine

I've also been using my crafty skills to do a lot of things for Victory's upcoming birthday party...


 6) Birthday party planning!

Hubs and I talked for a few months about our sweet girl's first birthday party. We finally decided on having it at home and making it a "garden party," because this has been our year to finally start investing time and resources into our yard. So why not host a celebration there and really enjoy it! I also like that the money we've spent on potted plants, flowers and garden beds and windchimes and more, is not 'birthday themed,' but they will be party decorations and then just staples in our yard each summer. Double purpose but only a one-time purchase - it's a win-win!

This is a bean bag toss target that a friend and I painted. It is two pieces of foam core board from the dollar store, staple-gun stapled to a wooden frame that used to be part of a shelf in our bathroom.
At the bottom of the photo are bean bags I sewed from leftover nursery fabric. Easy tutorial found here

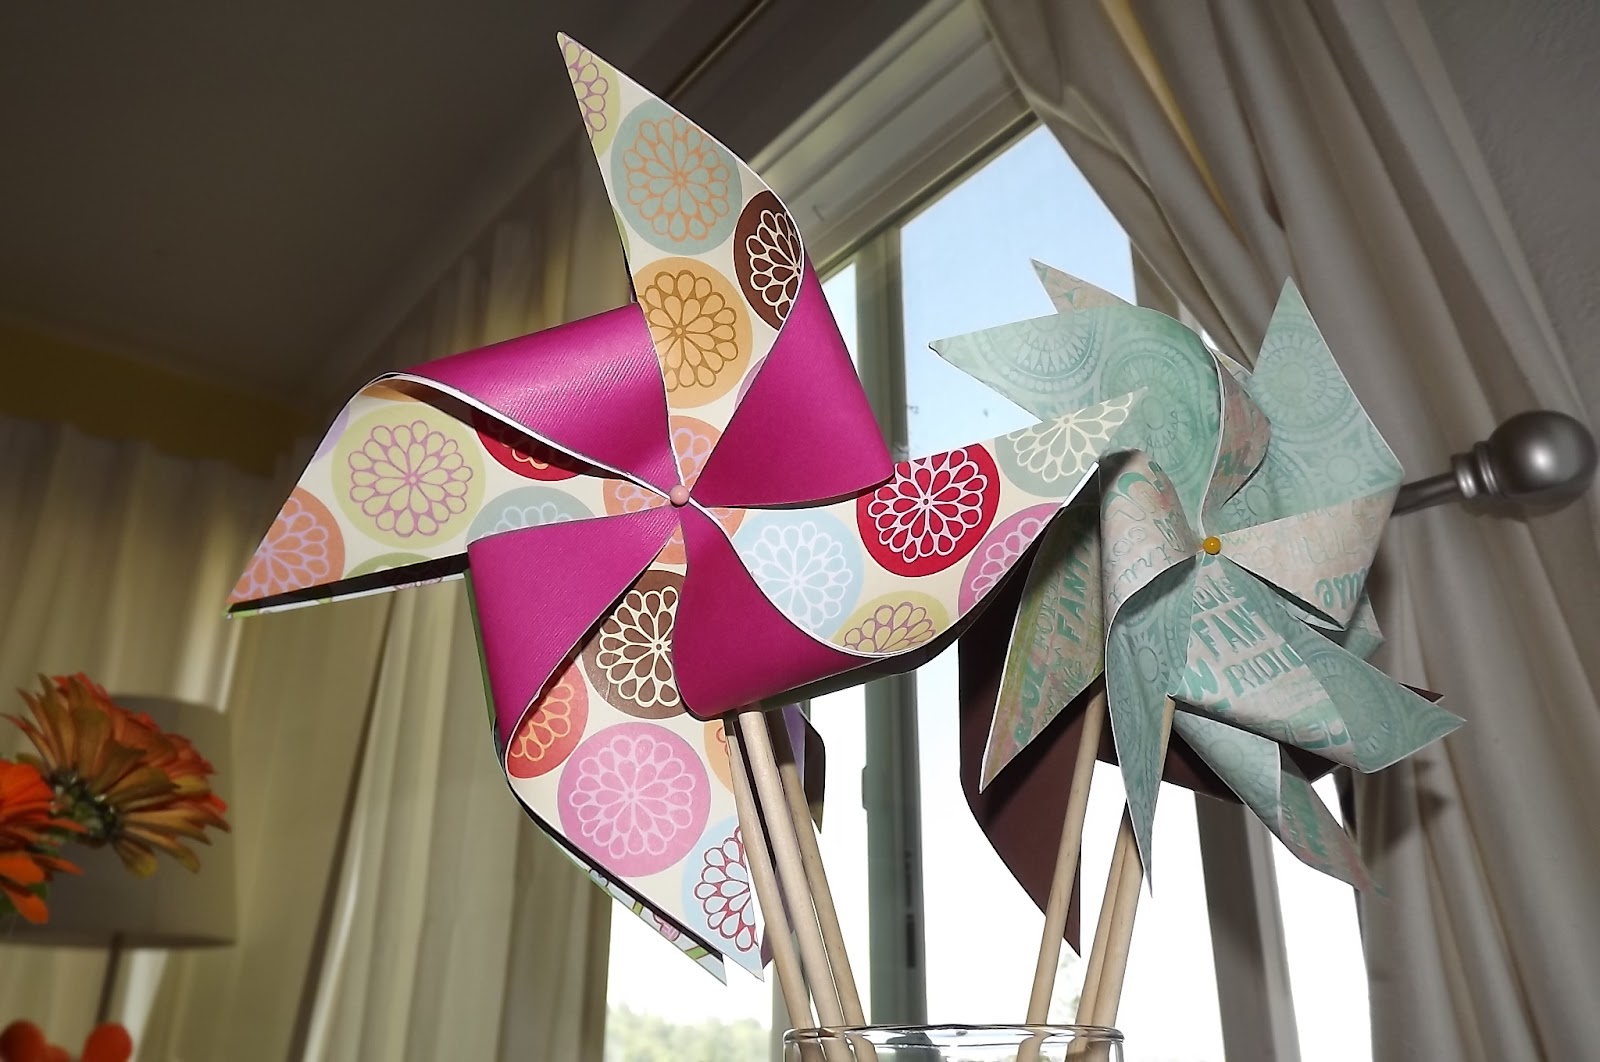
Pinwheels! I was inspired earlier this summer by a Martha Stewart craft tutorial, and then this garden party blog post, so I have been making them in my free evening time. I've got some little ones, and some huge ones!

8) Home improvements, in particular:

Finishing the bathroom remodel we started in May 2011!

Just a snapshot of the prettiest part of our new bathroom - mosiac glass tile. It cost just $14 total!
Right under that is a wall-mount sink from IKEA. Cost? Just 30 bucks!
Hubs has done an amazing job. It has taken much longer than we'd have liked, but we are so close to being done (just cosmetic stuff left - drywall sanding, painting, staining trim). Can I just say, my husband is amazing! He is working so hard and has so much on his plate, and never complains! Thank you for your great attitude and leadership, Babe!

Hubs has also been very busy building a deck around our house, so our little champ can play outside even when the lawn is sopping wet this winter! It is taking shape and I am so excited to get out there and start decorating it with thrifted, made-over outdoor furniture and accessories!


...Well, that's a little bit of what we've been up to. The highlights! What special things have you done this summer??

Monday, June 13

Completed Sewing Project - Baby Leg Warmers!

I did it! I made baby leg warmers! These are SO fast to make, I can't get over it. I had a few issues with the cuff on two of them; it came out somewhat crooked. But hopefully they'll be so cute on our little girly's legs that no one will even notice :)


Monday, May 30

Sew Some Baby Leg Warmers!

Have you ever heard of BabyLegs? They are new to me. But after seeing a post about them on Life's Little Embellishments, I got inspired and excited about them. They are little leg warmers for babies! Better than baby tights, because they don't have a top section to pull down for every diaper change or when potty training, and they protect little knees when crawling - great idea. They even have a few styles for little boys. But they are a little spendy.
But thankfully, Rachel at Life's Little Embellishments found a tutorial to make your own baby leg warmers at the Wulfekuhle journey. It is a really simple and VERY affordable way to build up a supply of your own. All you need is a sewing machine, thread, and a pair of girls' or ladies' knee high socks. Check out some of these handmade creations... while I go out and shop for socks to make some for Baby V!

From the Wulfekuhle journey:


From Life's Little Embellishments:

The striped pair at the bottom are a pair of "real" BabyLegs and the rest are her own cute handmade leg warmers!

Wednesday, April 20

A Garden Room for Baby V

I love looking at pretty things, and the fabric I've picked for Baby Girl's room is so pretty! It makes me smile, and cheers me up, and I wanted to share it here.

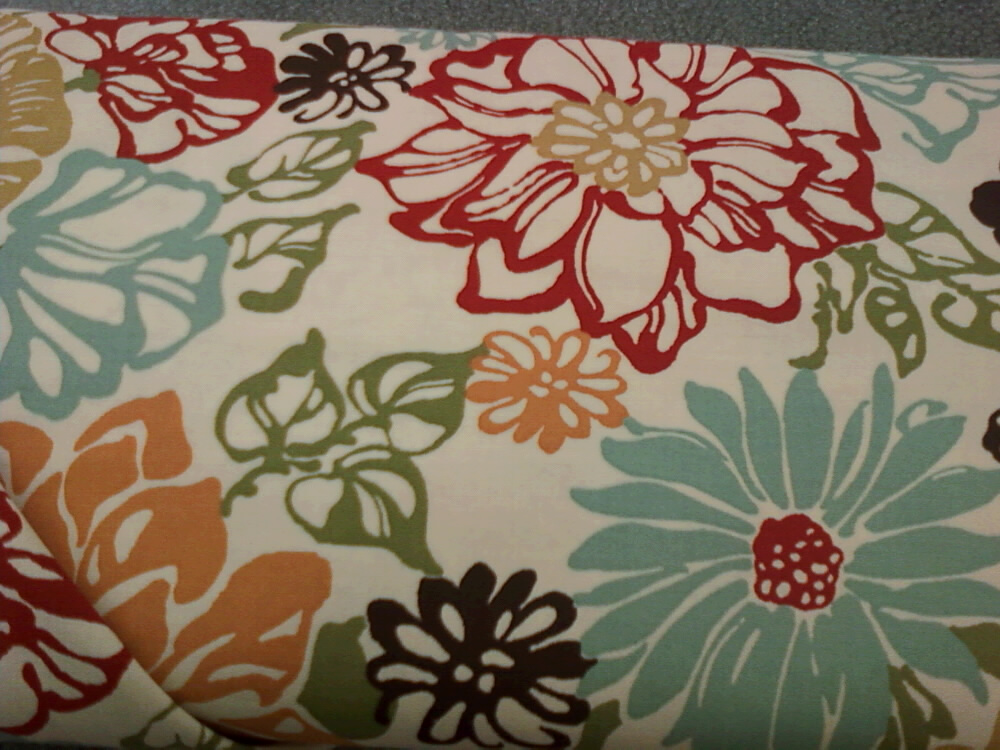
This is the fabric for the crib skirt, and the inspiration for the whole room. I'm going to frame a piece for the wall as well:


And a close-up:


This is the home decor fabric I chose to recover the glider cushions:


Both fabrics have a creamy colored background, not white. I love the spring green and warm rich reds, oranges, and browns. I found another calico print that I think I'm going to make the bumper out of. It's a warm, muted orange with red ad cream leaf accents. Matches perfectly. There is a tiny floral printed calico in a warm green that sort of goes, but I'm not sold on it:


I still want to avoid an overly "themey" room. What I've been doing is buying things I like and that coordinate, and trusting that it will come together. I read that if you create a room you would have loved as a child, you can't go wrong. Well, it is coming together; over the weekend I realized that V's room is taking on a garden theme! I would have loved it as a girl (after all, my favorite birthday party we ever put on was a garden/flower theme. Hard to explain, but it was so much fun - inspired by an American Girl Magazine idea). See, we have floral prints and frogs, and I've planned all along to frame and hang this watercolor that my niece painted for me and Baby V:


Perfect, right? Hubs wants to make a mobile of birds or butterflies. And the creativity keeps flowing, stay tuned... :)

Monday, April 18

Fast & Easy Baby Skirt from WinkDesigns


I found the energy today to roll off the couch and tackle my first "Fat Quarter Baby Skirt." I am amazed - I have never even done elastic before, and I made the entire thing in about one hour. And remember, I am a BEGINNER! I am falling in love with sewing, and so happy about it. I think everything I've absorbed watching my mom sew all those years is finally kicking in. Something right must be happening in my brain, along with all the pregnancy fog rolling around up there :)

Here it is, made of a darling creamy grey colored fat quarter with an orange pattern of little birds and swirls all over it:

It cost all of 99 cents because fat quarters were on sale last week at JoAnn! If you sew AT ALL, you must try this project. Brilliant idea, Wink Designs; thanks for the inspiration!

Update: Here is another skirt, finished in under two hours, made of soft JoAnn flannel. I like this one even more than the first!

Sunday, April 17

2 Hour Baby Blanket

I am on a bit of a sewing roll now. I made a flannel blanket for Baby V yesterday, in about two hours. And because I am basically a beginning level seamstress, I think it could be done in much less time if you're experienced!

When I first found out I was pregnant, I searched for baby sewing ideas I liked and printed them out for later use. Yesterday I remembered this post, "Making Baby Things with 3 Yards of Flannel" from Chickpea Sewing Studio, and went for it. It's truly a creative way to use any cute flannel you may have around. The bundle of three items really would make a darling shower gift, and it's very fast and easy if you can sew. For now I have just completed the blanket... and here it is:


I am still sick, so ignore me not looking too great, and look at the cute blanket :)


I did a finishing hem with the scallop stitch. It was the first time I've used it, and I like how it turned out.

I'm so proud of myself! I am no where near energetic enough today to do any sewing - colitis is really not letting me have it easy :( Hubs thinks it has a lot to do with how much my guts are getting squished by growing Baby. Tomorrow will be a day of phone calls to the hematologist, possibly getting a blood count done, and so on. But as soon as I can manage, it's onto the next sewing project... a skirt for Baby V made of a fat quarter!

Friday, April 15

I Sewed Something!!

I have always wanted to sew, and sew well enough to make all sorts of fun creations that rival anything you can buy at a little boutique. Since being pregnant I've been inspired anew, and I am determined to become a good seamstress. Well. Last week I cut two receiving blankets and other flannel remnants into squares in preparation to hem them and start our cloth wipe stash. At a friend's suggestion, I doubled each flannel square to make it thicker and more durable, and used a zig-zag stitch on the highest width on my machine. It took me three days to finish hemming because of this cold I'm working through, but I kept working and just finished! I now have over forty homemade flannel wipes to wash and put away for Baby Girl. A great start!


I got the most experience I've ever had with my sewing machine this week. I had to wind the bobbin at least twice, rethread the needle MANY times, and I had several thread jams to fix. I'm still figuring out some of the machine's quirks and my own user errors. But I'm excited to keep sewing and start a new project. I found this free pattern at Wink Designs for baby skirts made of fat quarters, and I think this would be a good "intermediate" level project for me.

Sunday, April 3

Cloth Diapering Pt. II - Wool Covers

My first order of business in my cloth diaper sewing adventure is to zip off to the thrift store and see what kinds of old wool sweaters I can snag for next to nothing. See, I ran across pre-made wool diaper covers in the past few months while researching cloth diapers, but saw the cost and said, "Not happening." I considered knitting my own, and that's still a possibility.
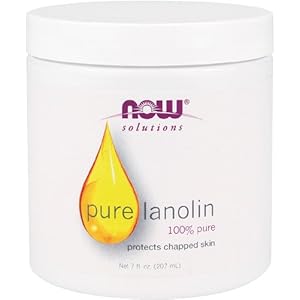
Then I found these websites, one with the scoop on making your own wool diaper covers out of old wool sweaters, another with a pattern and instructions to do it, and yet another with instructions on how to lanolize and relanolize occasionally, to keep the moisture resistance. I will definitely post pics once I get this figured out. I can't imagine NOT sewing up four wool diaper covers for $5-10. Here I go!

(Yep, it's the same old Lanolin you might having laying around if you're breastfeeding!)


I think these wool covers made from old sweaters are the coolest thing EVER, especially the ones with pants attached:


Can you believe someone snagged these as old kids sweaters at a thrift store and sewed them into these darling covers and pants? I hope to create some covers as cute as these. Stay tuned! :)

Saturday, April 2

Cloth Diapering Pt. I - We're Sold!

I am super passionate about cloth diapering already. I am getting so excited about it! Hubs and I are completely in agreement - and he got convinced all on his own!
We have done tons of research over the past few months, and talked to a good friend that cloth diapers her little girl. We decided that we'd like to use:

cotton prefolds

with Snappis,

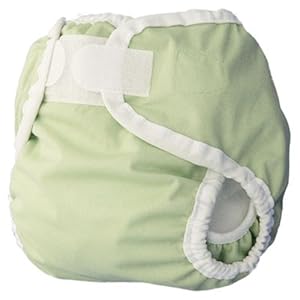
under Thirsties covers

and wool covers;

and
FuzziBunz One Size AIO's (All-in-One's)

I was not initially looking at "modern" cloth diapers like FuzziBunz because I was intimidated by the price. Then a friend gave me her experience with them, and I realized - they are an innovative, amazing product, made by an American company started by a mom, and an INVESTMENT that will last us through one or two more babies. Incredibly easy-to-use and CUTE, colorful cloth diapers for a one-time cost - Wow, can't beat that! (Disposables are SO not a one-time cost!) I checked out the FuzziBunz website at her suggestion. From their FAQ page to the benefits of cloth diapering, even tips to make it MORE green. Check it out.
We figured out that we can buy one or two FuzziBunz OS diaper each month ($20 each) and have a good stock ready by the time she's born. FuzziBunz, AIO's, any cloth diapers are really very affordable when you look at it in little steps like this.

Here are some websites with free patterns for cloth diapers and accessories:
www.diapersewing.com
www.cheekydiapers.com
www.zany-zebra.com

This site has supplies for sewing, like PUL fabric for covers, and snaps for covers and AIO's: www.wahmsupply.com

I am thrilled at the idea that we will be done buying diapers and accessories a few months into our baby's life - once we have our stock, we get to stop buying diapers! We will have a sense of control over our finances and baby's health -cloth will not likely create rashes like disposables do, and there will be no icky chemicals seeping into baby's skin. I feel empowered. Depending on how much help we receive at our baby shower, I will make up the difference by saving and buying them ourselves, and doing some creative fabric hunting and sewing.